How to Test Continuity Accuracy
To check the accuracy of your continuity / resistance tester you need to ensure is the test leads have been set to zero, to do this set your multi-meter or electrical test equipment to the continuity setting.
If your continuity tester or multi-functional tester (MFT) has different continuity ranges set the range to match the desired test, many digital continuity testers have an auto range setting.
With the correct continuity setting selected firmly touch the probes or crock clips of the test leads together, the test instrument should read 0.00 Ω . If the measurement gives a reading other than zero then the leads need to be nulled.
Null Test Leads
To null the test leads most electrical testing equipment have a null or zero button, this will adjust the test equipment to take into account the resistance of the test leads. Press the null or zero button with the test leads firmly touching each other, the reading should change to 0.00.
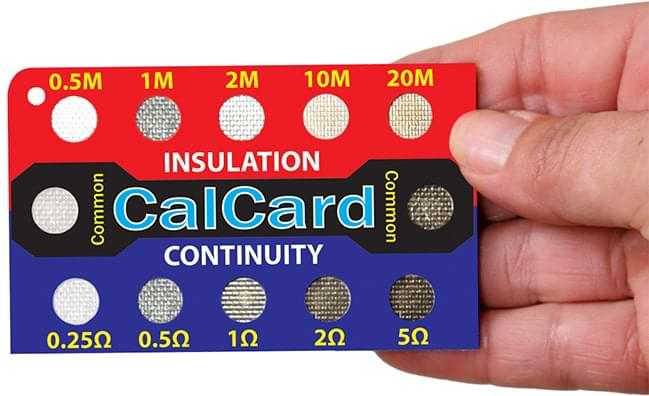
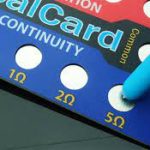
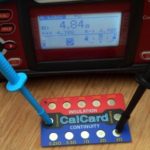
Once you have ensured the lead leads are reading zero you can now use the CalCard to check the continuity accuracy of your test kit.

